open estimates, but if at any point in time their estimate is updated to sold, you want to remove them from the campaign.
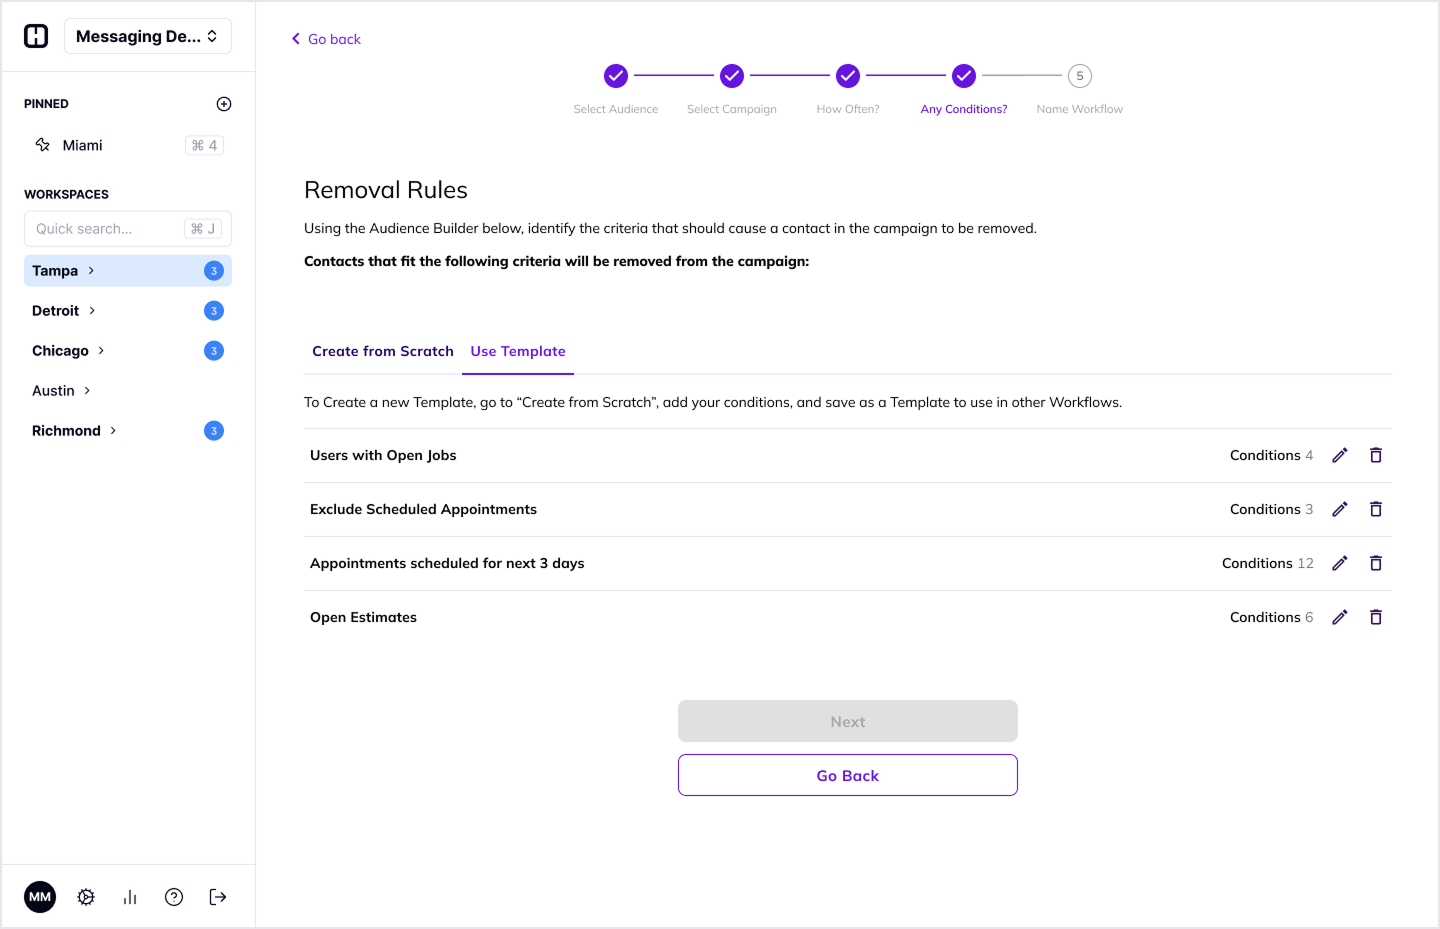
When setting Removal Rules for a workflow, you can either create a unique set of conditions that only apply to that Workflow, or you can apply a Template.
Removal Rule Templates
Removal Rule Templates allow you to apply a single set of conditions across multiple workflows. This allows you to make changes to a single Template in a central location, which will apply to all workflows using that template. For example, you may want to remove contacts from any Speed-to-Lead Campaign if the Contact has an Appointment starting in the next 7 days. You can create a Removal Rule Template called “Remove Upcoming Appointments” with a condition that checks for contacts with Appointments between 0 and 7 days in the future, and apply it to all of your Speed-to-Lead related workflows. If at any point in time you want to increase the window to remove people with appointments in the next 14 days, you only need to make that change to the template, and the updates will apply everywhere!Creating and Using Templates
When creating or editing a Workflow, Step 4 allows you to set Removal Rules. Once you’ve applied a set of conditions in the “Create from Scratch” tab, you’ll see a “Save as Template” button in the top right. Once you click Save, you’ll set a Name for this template and your done! This Workflow will already be using your newly created template.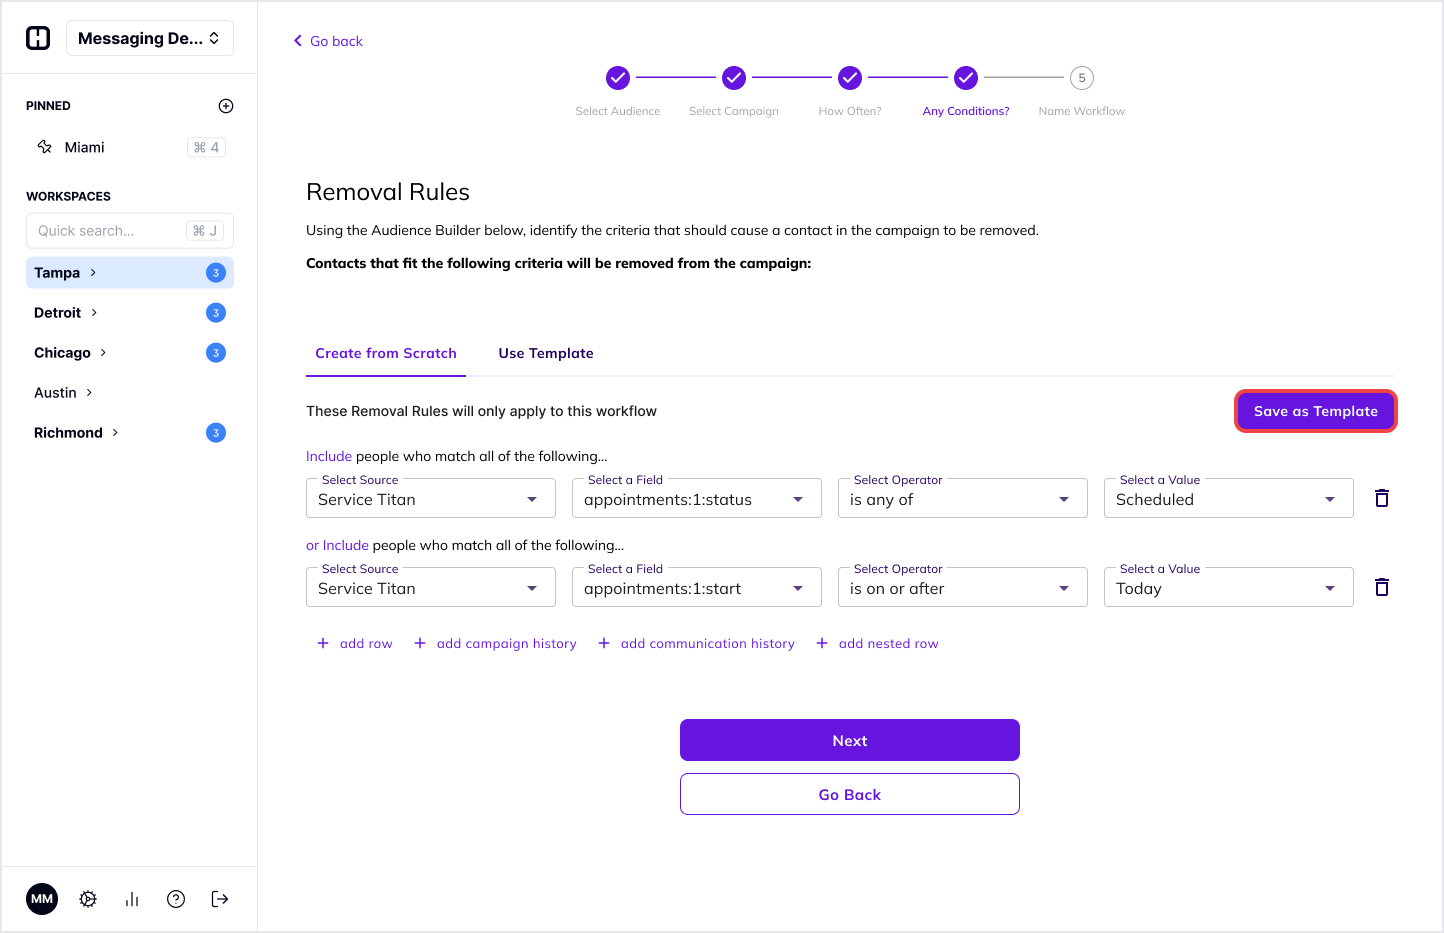
-png.png?width=1444&height=933&name=Create%20Workflow%20_%20Any%20Conditions%20_%20Removal%20Rules%20(5)-png.png)