The Manage Data modal lets you control which fields from your CRM integration are available for use in the Audience Builder and Removal Rules. Smart defaults are pre-selected for you, so you likely won’t need to make any changes — but if your team uses custom or less common fields, you can add them here.

Where to find it

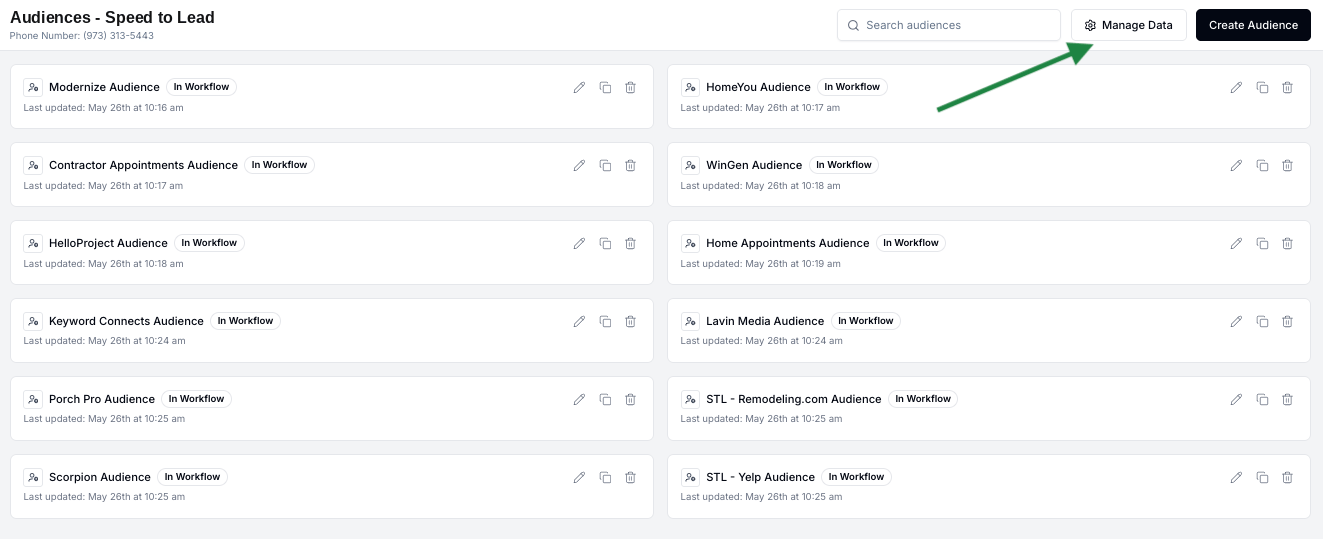
Open the Audience Builder and click the Manage Data button in the top right corner. Manage Data button in the Audience Builder
How it works

When you open the modal, you’ll see your connected integration sources listed on the left. Selecting a source shows you all available fields organized by object type — for example, if you’re on ServiceTitan, you’ll see fields grouped under Jobs, Calls, Estimates, Memberships, and so on. Each field has a toggle that controls whether it’s available as a filter in the Audience Builder. Fields that are toggled on will appear in the field picker when building an audience. Fields that are toggled off won’t. The Manage Data modal showing fields organized by object type To update your fields:
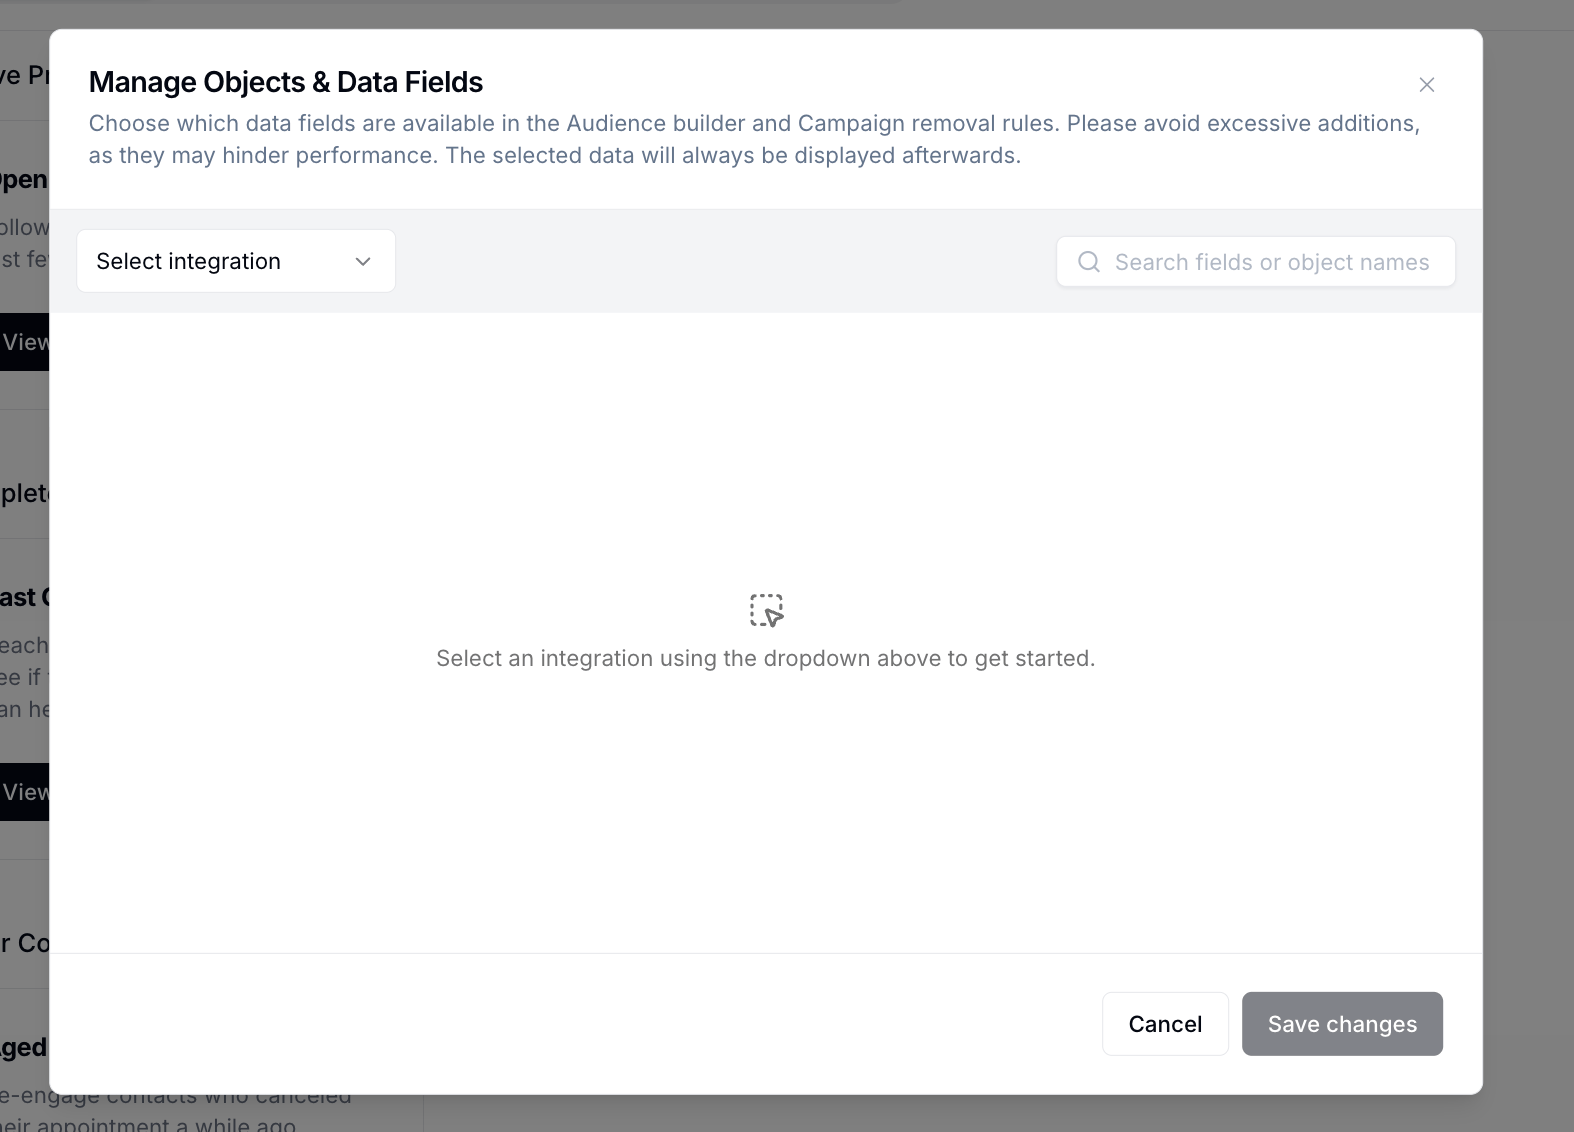
  1. Select a source from the left panel.
  2. Browse or search for the field you want to add or remove.
  3. Toggle the field on or off.
  4. Click Save.
After saving, a background process runs to make newly added fields available. The field may take a few minutes to appear in the Audience Builder — you’ll see an in-progress indicator in the modal while this is happening.

Things to know

Smart defaults are pre-populated. When you first connect an integration, Hatch automatically enables the most commonly used fields. You likely won’t need to adjust anything. There’s a limit of ~50 fields per integration. If you’re approaching the limit, prioritize the fields your team actually uses in audiences and disable any you no longer need. Fields in use can’t be disabled. If a field is currently referenced in one or more of your audiences, its toggle will be grayed out. To disable it, you’d first need to remove that field from any audiences using it. Newly added fields take a few minutes to become available. After toggling a field on and saving, the field goes through a short processing step before it appears in the Audience Builder field picker. The Manage Data modal will show an in-progress indicator until it’s ready. Array fields show a limited number of items. For fields that contain lists (e.g., a list of tags), Hatch makes the first ~10 items available by default. This covers the vast majority of use cases, but you can enable additional items in the modal if needed.

FAQ

Why isn’t the field I just added showing up in the Audience Builder? Newly enabled fields go through a short processing step after you save. This typically takes a few minutes. Check the Manage Data modal — if you see an in-progress indicator next to the field, it’s still processing. Refresh the Audience Builder once it’s complete. Why is a field’s toggle grayed out and I can’t turn it off? That field is currently being used as a filter in one or more of your audiences. To disable it, open those audiences and remove the condition using that field first, then come back to Manage Data. I’ve hit the field limit. What do I do? Review which fields you currently have enabled and disable any that your team isn’t actively using in audiences. If you have a strong need for more fields, reach out to your Account Manager. Will changing my field selections affect existing audiences? Removing a field that’s actively used in an audience will be blocked — the toggle will be grayed out. Any fields you add or remove only affect new audience conditions going forward. Does Manage Data apply to all my integrations? No — the Manage Data modal only applies to native integrations installed via the Hatch App Marketplace. For all other data sources (such as the Hatch API, Zapier, webhooks, or CSV imports), fields appear automatically in the Audience Builder without any configuration needed.